|
<< Click to Display Table of Contents >> PaperCut Mobility Print |
  
|
|
<< Click to Display Table of Contents >> PaperCut Mobility Print |
|
Editor’s note: Although these instructions and the screenshots available are all Microsoft Windows computers, PaperCut’s own website indicates that mobility print will work on Chrome OS currently (and Macs in the future). Please note however that for the side of this program that actually has the printer installed, you will need to use Apple or Windows.
This article should be used in tandem with Frazer’s Google Remote Desktop article.
Setting up the Print Server (The local computer that your printer is installed on)
To get started, navigate to papercut.com. Underneath their Products drop-down, in the “Free tools” section, you’ll see a link for “PaperCut Mobility Print.”

Click the link.
You will see a “Download it Now” button at the very top of the page. Clicking that will advance you to the software section.
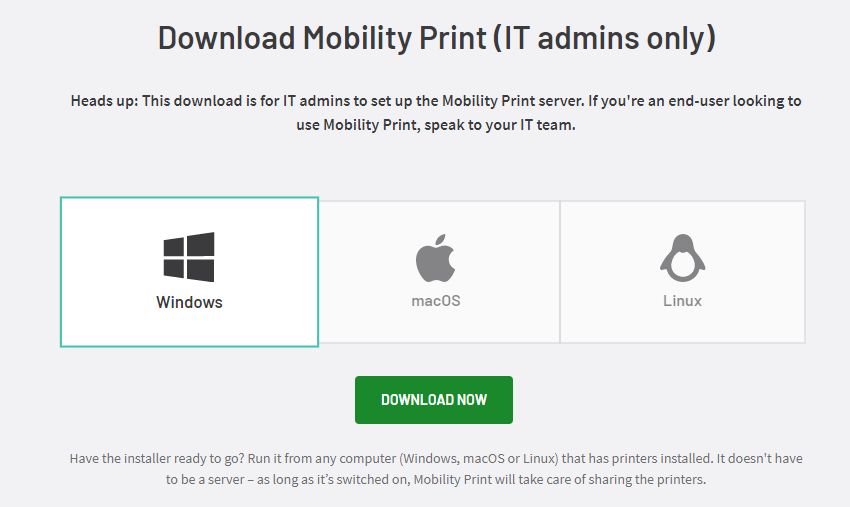
Select your operating system and then click “Download Now.” This will download the print-server software.
Once downloaded, open the software.
The installer is fairly straightforward as far as installation software goes.
First, accept the End User License Agreement.
Second, you will be prompted to set up PaperCut’s GhostTrap which will act as the adapter between PaperCut’s cloud services and your Window’s print services (your experience may vary if setting up a Mac or Linux machine as your print server).
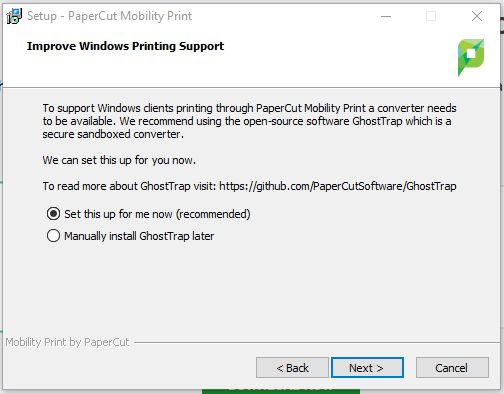
Frazer recommends setting up “GhostTrap” now.
Continue through the installer. Once complete, a webpage will pop-up prompting you to set up an account with PaperCut. The default username is “admin.” Enter a password.
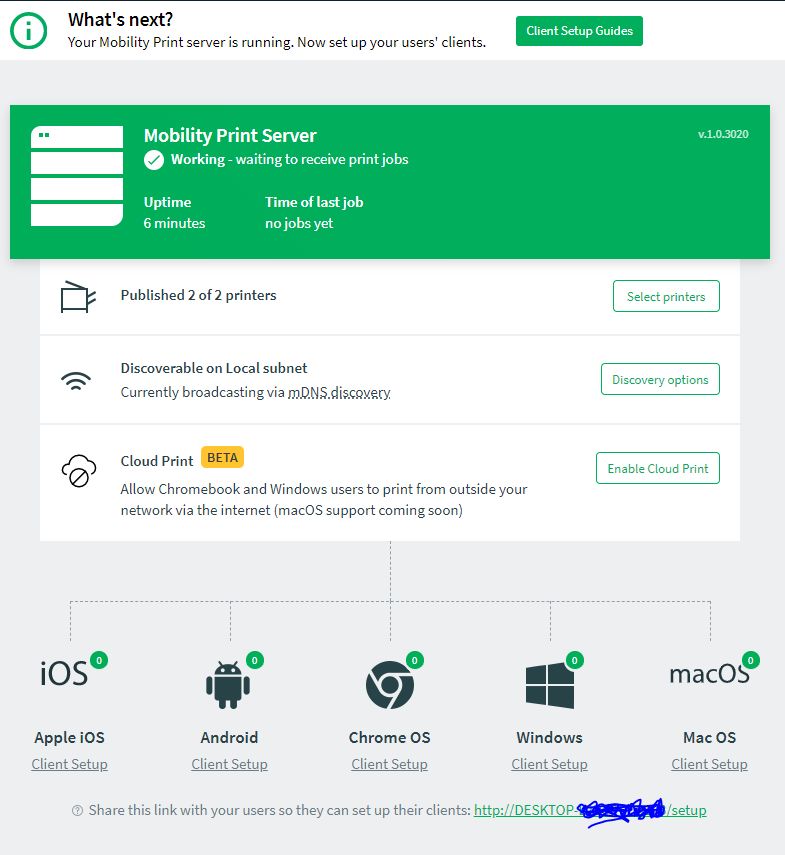
Once you’ve created your password you will be automatically logged into the Mobility Print portal. You’ll notice by default that all installed printers (on your local PC) are already “Published” meaning they are tied into the PaperCut Mobility Print system.
Editor’s note: As of this writing MacOS support for printing via the internet is coming soon as the cloud print platform is in Beta.
Setting up a local printer to accept print jobs from over the internet.
What is this?
Most dealers that are remoting into their PC at the lot, will want to be able to print Frazer forms or Reports right to the printer beside them. These steps will help you set up your remote computer to be able to create that print job and then send it through the magic of the internet to the printer sitting beside you.

Start by clicking “Enable” next to Cloud Print on the local PC in front of you. This will prompt you to set up a few specifics for the connection.
PaperCut provides some helpful tips in regards to setting up your connection.
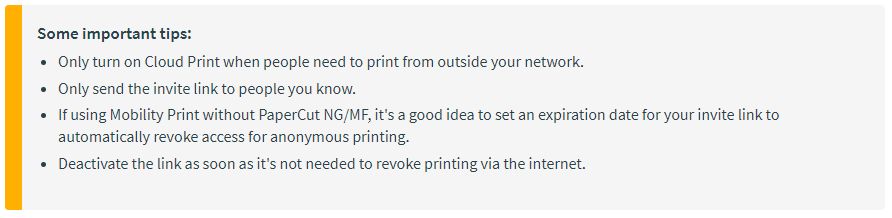
Frazer recommends making decisions that work best for your company.
Follow along on the page to set your “link” specifics and then click on “Generate Link.”
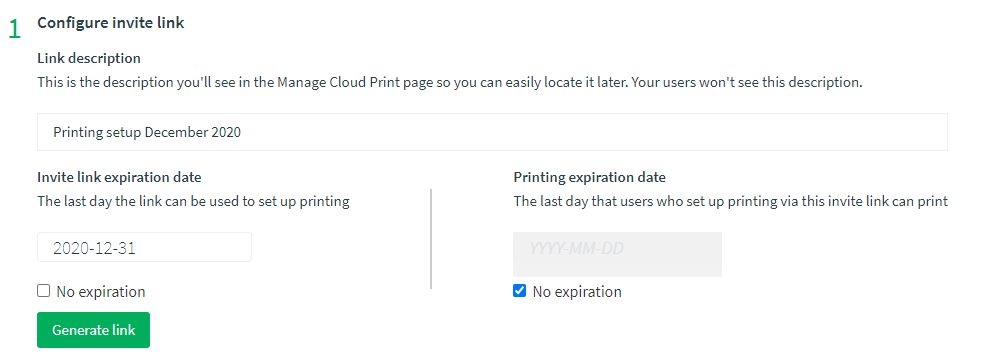
Once you click “Generate Link,” you will be given a very long link to share with any remote computers that you need to print from. Click the “copy to clipboard” button and then send that link to the remote computer.
On your remote computer, open the link, and download/install the mobility print driver.
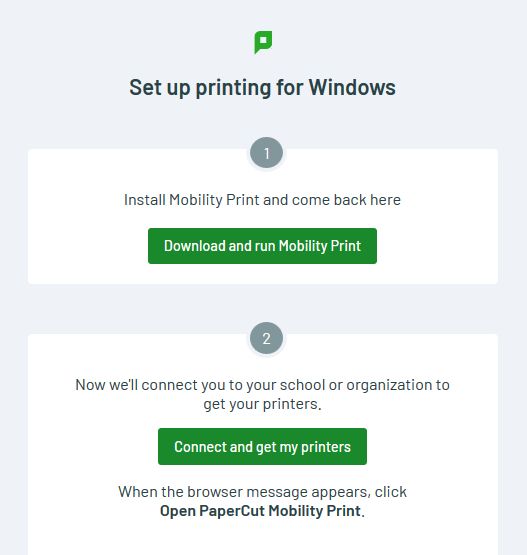
Running the .msi installer will configure mobility print for you automatically. Once you’ve completed that setup, move on to step 2.
Click the button to “Connect and get my printers.”
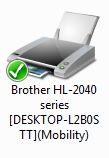
Editor’s note: The webpage makes mention of receiving a notification that everything is ready to go. I waited about 60 seconds and then checked “Devices and Printers” (link provides basic info on how to get to Devices and Printers and how to print a test page) in Windows and saw the new printer created by Mobility Print.
To ensure that you’re good to go, you can attempt a windows test page. Assuming that prints, you are now ready to print from Frazer.
Open Frazer and navigate to Miscellaneous > Printer Setup. Set the mobility printer(s) as your printer(s) for the various categories.
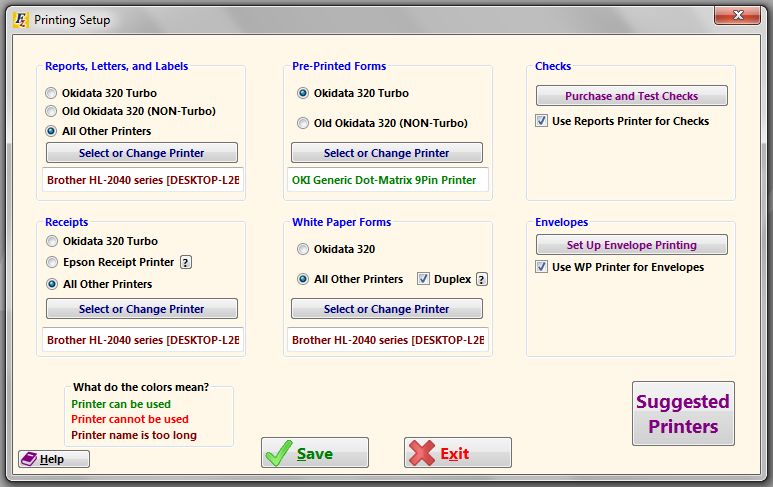
Editor’s note: You may notice that Frazer has highlighted your printer name in maroon, indicating that the printer name is too long. In my testing, I was still able to print, even without a printer name change. If you would like to rename your printer you may do so, but be sure to re-select that printer here. If you need help, Frazer’s technical support will be happy to help you rename your printers. Frazer’s phone number, as always, is 888-963-5369.
Once you’ve selected your printers, you should be able to now print locally from a computer you’re accessing remotely.