|
<< Click to Display Table of Contents >> Snipping Tool |
  
|
|
<< Click to Display Table of Contents >> Snipping Tool |
|
All versions of Microsoft Windows 7 or later come pre-loaded with a program called "Snipping Tool." The snipping tool allows you to take screen shots of anything you have up on your computer.
Let's start by opening Frazer.
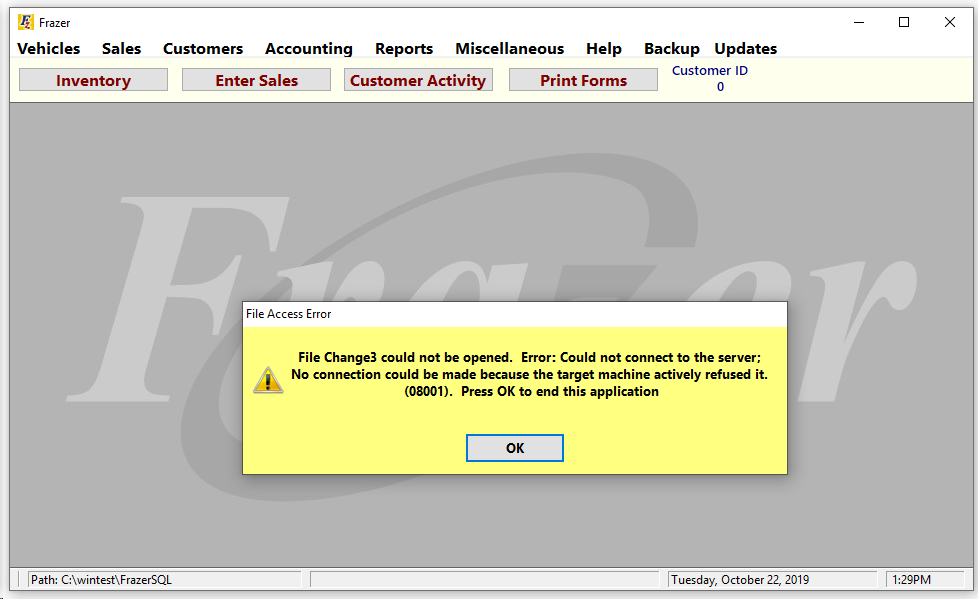
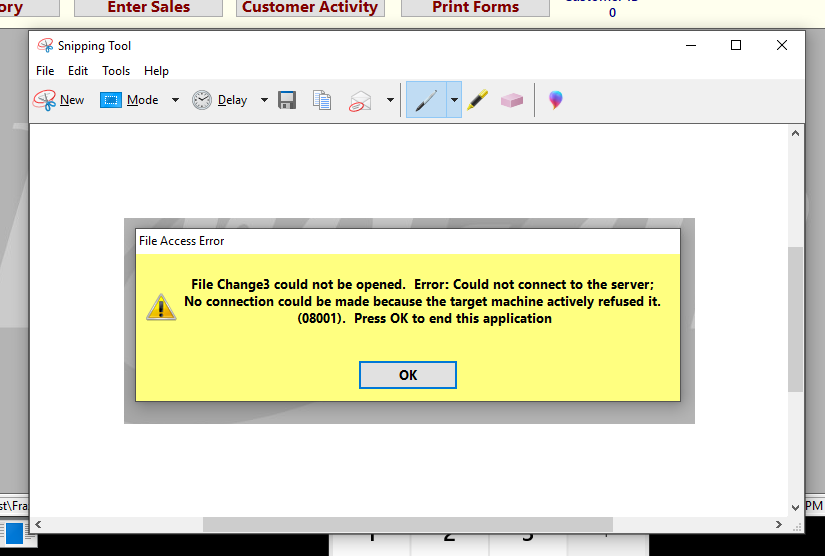
Uh oh! Time to call Frazer. At this point many dealers will close Frazer and then attempt to recall what the error said by memory. This sometimes works well, and sometimes not so well. What if we could take a photo of the message and show the customer service representative the exact error we got? Well you can with "Snipping Tool!"
To start we simply need to open the snipping tool program. To do that click on the windows icon in the bottom left hand corner of your screen and start typing "snip."
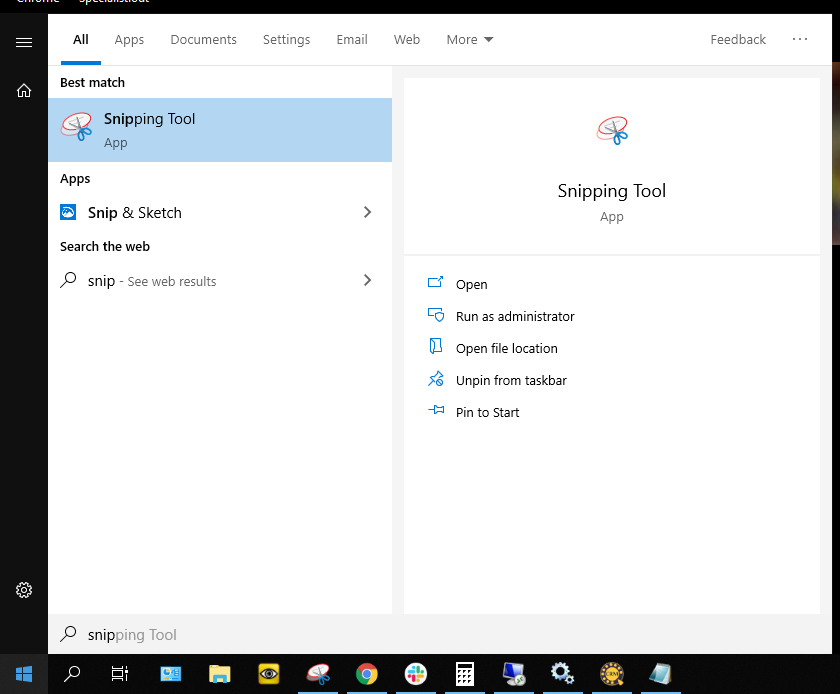
Once you see "Snipping Tool" pop-up, go ahead and select it.
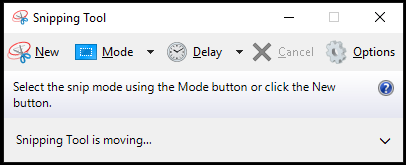
The program itself is pretty easy to use. To select a portion of your screen to save, click on "New" and then highlight the portion of the screen you would like.
The snipping tool will make your screen go grey, and you will be able to copy only the portion of the screen that you need. (In this case, the error message.)
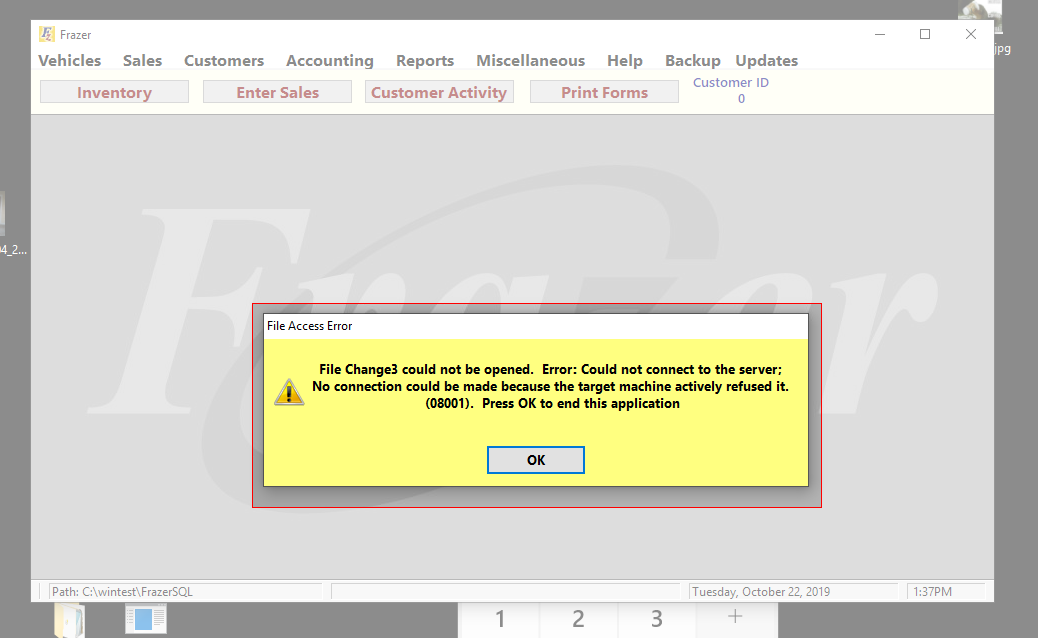
The snipping tool will then display only the portion of the screen you have selected:
From here, you can just keep the snipping tool open to show the customer service representative OR you can save the snip as a photo for email purposes. To save a photo, simply click on file and then "Save as." The save process is the same as any other program you may have used in the past.