|
<< Click to Display Table of Contents >> Sharing a printer |
  
|
|
<< Click to Display Table of Contents >> Sharing a printer |
|
Sharing a printer over the network allows you to set up your printer to be used by multiple computers at the dealership.
The first step in our journey will take us to the Windows control panel of the computer that your printer is currently installed on. To get there, click on the Windows icon in the bottom left of your computer screen and start typing "control panel".
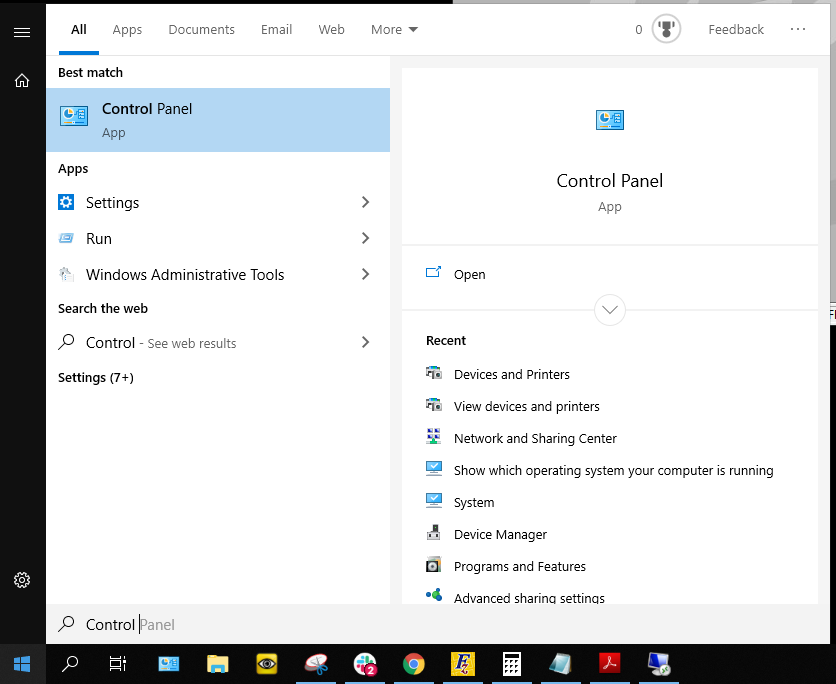
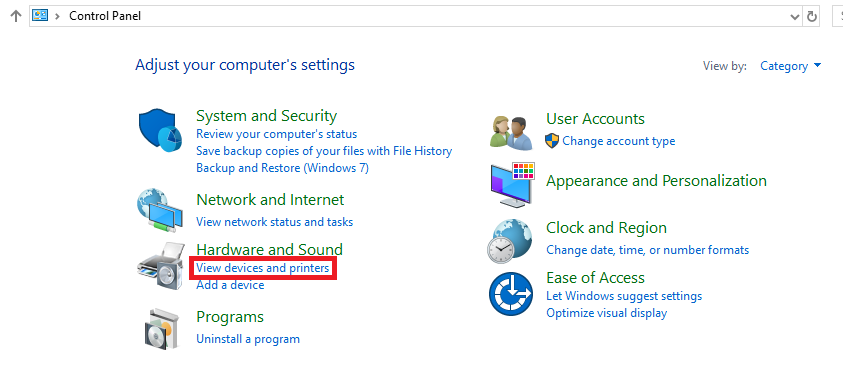
As you type, Windows should be searching for a program matching your search. Once you see "Control Panel" click on the icon. With the "Control Panel" open, look for "View Devices and Printers". If your "Control Panel" shows 30 or 40 icons instead of the 8 major categories (pictured below), simply look for "Devices and Printers".
This will bring you to the "Devices and Printers" screen.
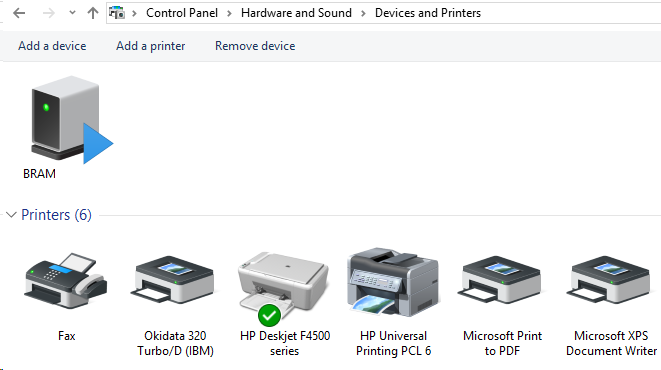
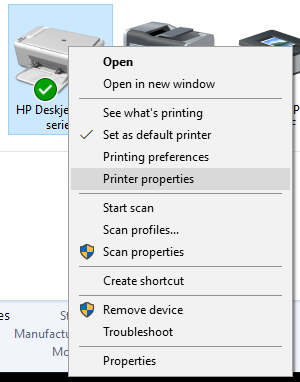
To set sharing settings, right click on printer's the icon and choose "Printer Properties".
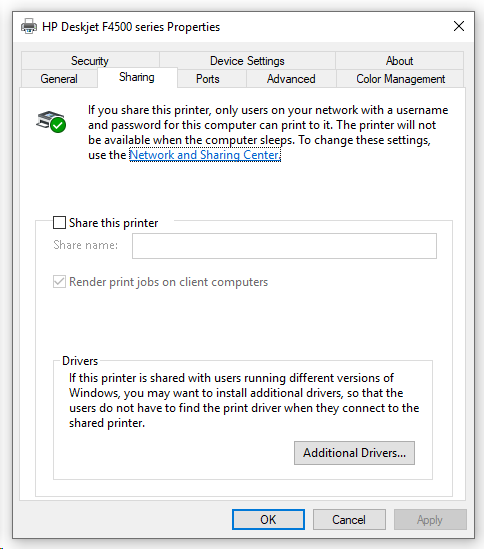
Once you've entered the "Printer Properties," navigate to the "Sharing" tab and check the box to "Share this Printer". (You may need to click a button to "Change Sharing Options" as seen in the screen-shot before the settings will be usable.)
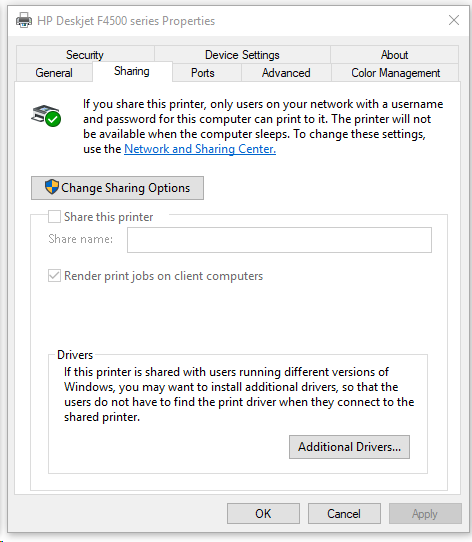
Upon checking the box, windows will automatically set the share name to be the name of your printer. Frazer recommends changing the name to be something unique (this will help us later).
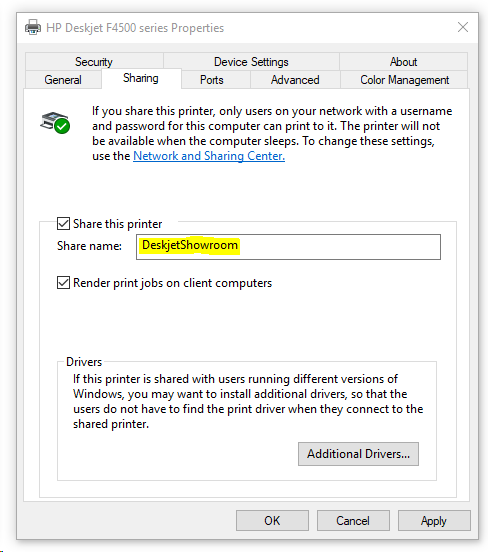
Once entered, go ahead and click "OK" to close the "Printer Properties."
Your printer is now set up to be shared over the network. Now it's time to set up the printer on your secondary PCs.
To start, open up the file explorer on your secondary PC. To do this click on the folder icon on your task bar: ![]()
OR
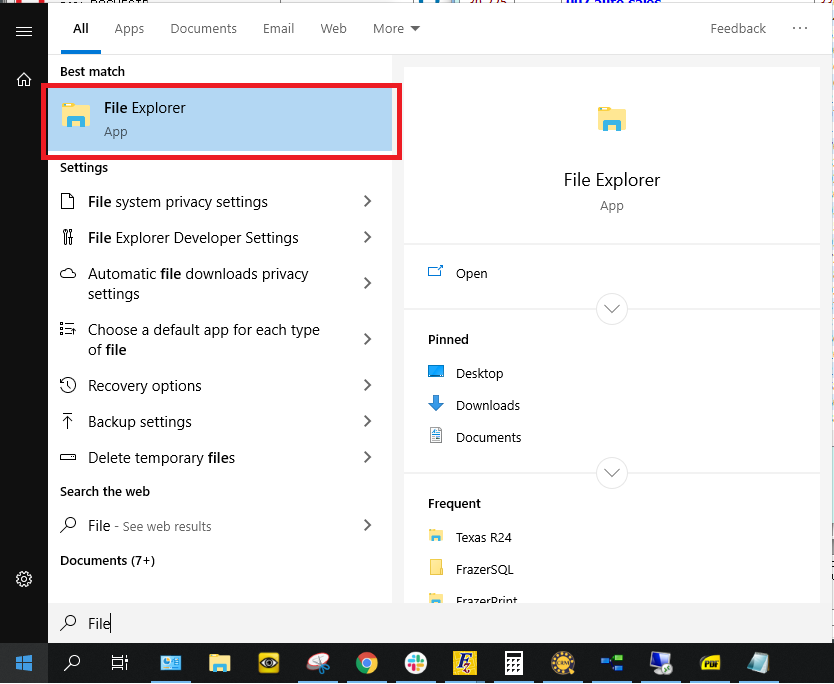
Click on the Windows icon in the bottom left of the screen and start typing "File Explorer". Once "File Explorer" appears, click on it.
With the "File Explorer" open, look for "Network" on the left hand column.
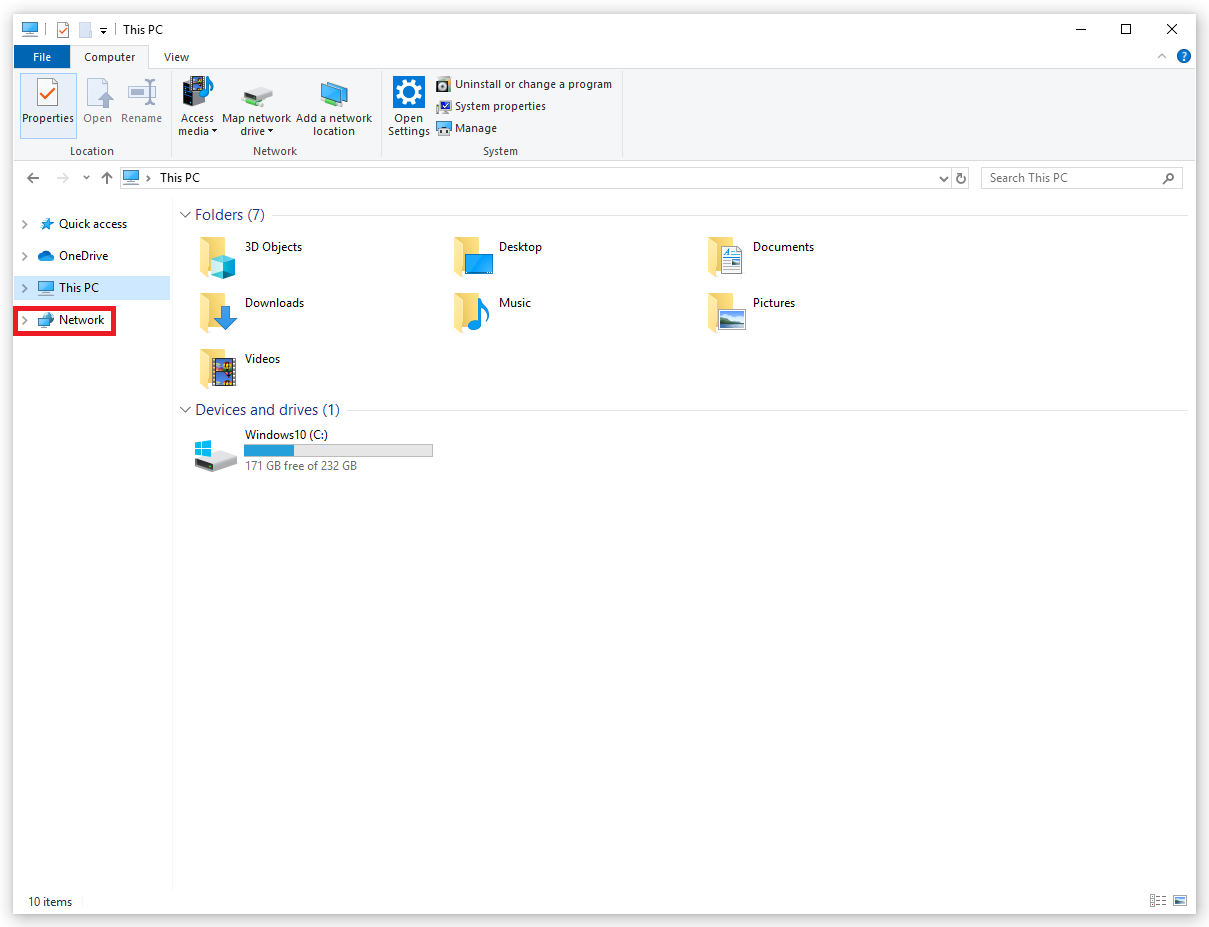
Selecting "Network" will show you all of the Computers and Devices currently connected to your local network. Open up the computer that has the printer installed on it:

Opening the computer will show everything that that computer is sharing over the network. (If you get prompted for a password, click here.)
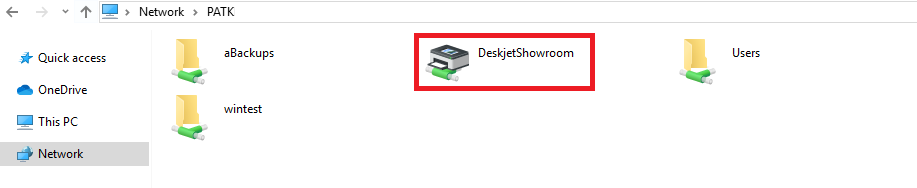
Double clicking on the printer icon should start the install process. Once a print queue opens, you should be ready to test print.
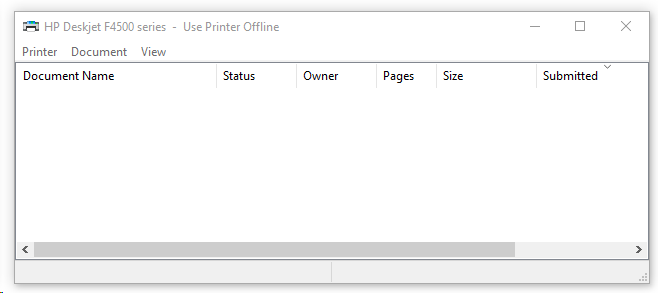
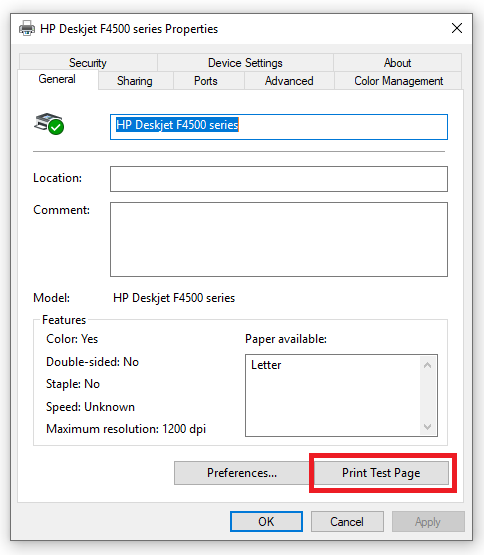
To print a test page, click on the "Printer" drop-down menu and select properties.
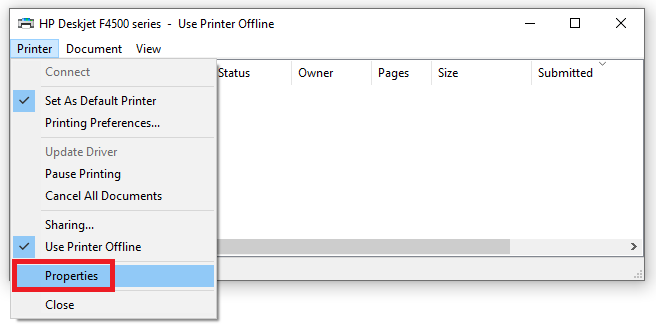
The button to print a test page is in the bottom right.
If a test page prints, you are ready to set the printer in Frazer as you normally do.